How to – WooCommerce Smart Sticky Cart
Table of Contents
Installation and Activation
- Once you have purchased the plugin, go to your account at Pluginty (pluginty.com → Login) and download it.
- Copy the licence key from the API key tab.
- Go to your WordPress dashboard and upload the plugin (Plugins → Add New → Upload Plugin).
- Install and Activate
- Still in your dashboard, go to Pluginty panel, paste the API key and click Submit. Follow the prompts.
If your key is valid, you have now successfully activated your plugin. You should see a list of your activated websites in your account on pluginty.com, in the API key tab.
Licence Key
- Copy the existing key if you have one. Only generate a new key if this is your first installation from Pluginty or if you want to revoke the previous one.
- When you revoke a key the websites that were activated with it will stop receiving updates and will be removed from your list.
- If you remove the key from a specific website’s Pluginty Panel, you will still see its domain listed in your account, but it will not receive updates.
Settings and Configuration
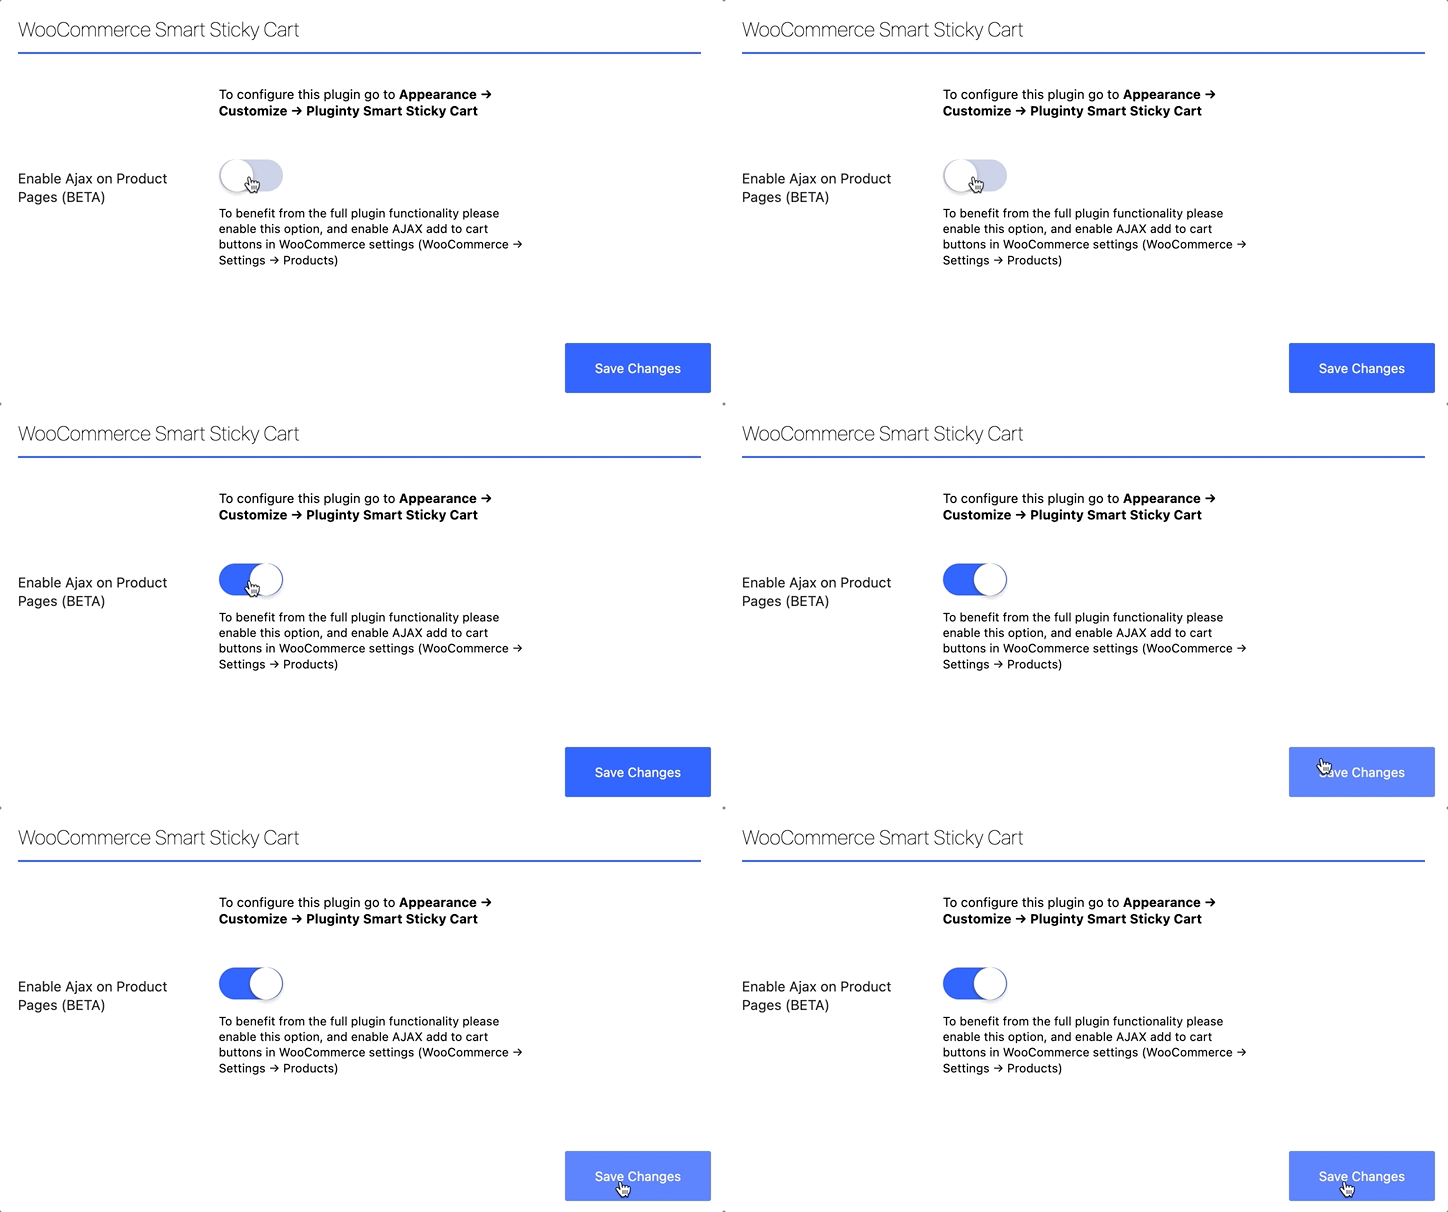
- To benefit from full plugin functionality go to Pluginty panel in your WordPress dashboard and Enable Ajax on Product Pages. Click Save changes.

- Confirm that AJAX add to cart buttons on archives has also been enabled in WooCommerce Settings (WooCommerce → Settings → Products)
- To configure the plugin, from your WordPress dashboard go to Appearance → Customizer and open the Pluginty Smart Sticky Cart section.
Customizations
For easy customization each component has its own tab. Comon customizations are: background and text colours, text colours, button and button text colours and icons, animations: fade in or slide in effects
More specific settings:
Smart Floating Cart
Floating Cart Icon: choose a cart icon and its colour
Floating Cart Icon FX: Animate the floating cart icon, either always or only for a few seconds, after a product is added to cart. You can also disable this effect. Requires AJAX
Automatically open Side Cart after product added: This option will open the side cart automatically when a product is added to cart.
Smart Add to Cart Bar
Choose to show or hide the elements of the bar: price, product name (title), thumbnail, rating. When only the add to cart button is visible it will be centered.
Advanced: Custom Anchor Class: Normally the button on the Smart Bar corresponds to the main WooCommerce Add to Cart button in the current product page. If you use a custom button or a page builder that replaces the default WooCommerce button then the Smart Bar might not automatically recognize to which button on page it should refer.
Solution: add a your custom button class in this field. If you do not know what the class is please get in touch with your website developer.
Smart “Added to Cart” Notice
Timeout: The notice can be dismissed manually, or it can close automatically after a few seconds.
Custom Text After Product Name and Custom Link Text: By default the notice displays the message containing the product name followed by “has been added to your cart”. You can change the text after the product name according to your preferences.
You can also replace the default “View Cart” link with a text of your choice, for example “Go to basket”.
Smart Checkout Bar
Choose to show or hide the elements of the bar: item count, total to pay.
Custom Button Text: The button says “Checkout” by default, but you can replace it with any custom text, for example “Proceed” or “Next Step” etc.
Troubleshooting
The Notice doesn’t show
Please check that AJAX is enabled, both in Pluginty Panel and in WooCommerce Settings.
I don’t see the checkout bar
The Smart Checkout Bar shows only on the Cart page, and only when the cart is not empty.
With the Customizer open, the page refreshes after adding to cart
This is a known limitation. Currently the AJAX add to cart on single product pages works only in the front end, so your customers will see it working properly.
